|
|
The Digital Analog Computer -- Development History
|
|
|
|
At the beginning were the front panels and a provisional frame to mount the boards.
Now the problem arises how to arrange the power supply, the front end units and the like. A sloped console would be nice. However, it should be not overly expensive. So we decide in favor of readily available hardware:19", 3U.
A provisional mockup demonstrates the principal feasibility. However, the amount of working hours woud be prohibitively high.
So we will restrict ourselves to a more straightforward design, at least for now.
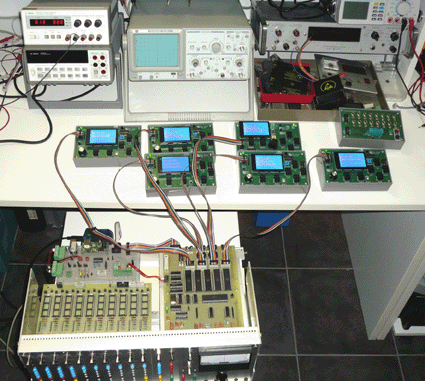
During bring-up of the master controller and converter subsystem, each of the microcontrollers has been connected to its own debugging console.
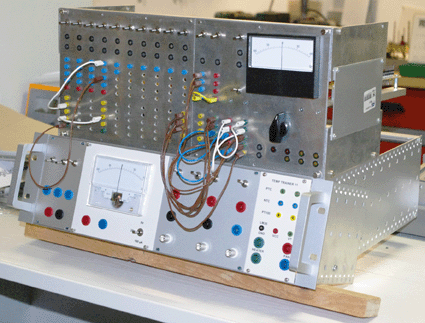
Obviously, this plethora of boxes is somewhat unwieldy. Two consoles should be sufficient. They are mounted on a front panel in the form factor 19", 3 U, 84 HP, connected to the frame of the machine.
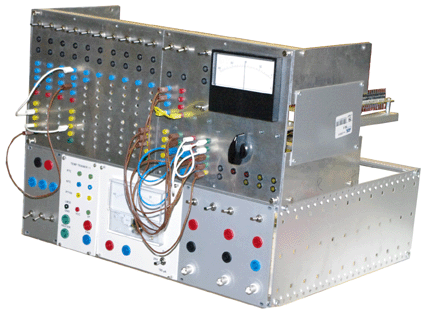
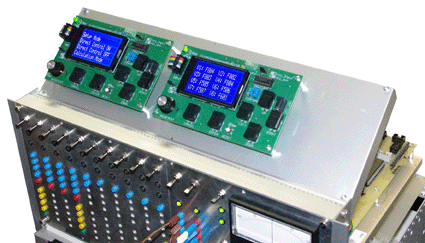
This auxiliary troubleshooting unit ("Inbetriebnahmehilfsgeraet") will be mounted only during bring-up and to troubleshoot tough dogs . . .The placement on top of the machine leaves the 19"-rack at bottom empty to accommodate front end modules and even tablet computers.
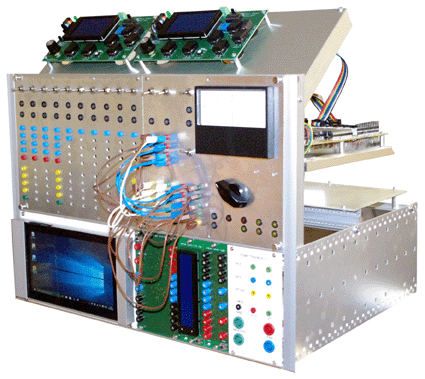
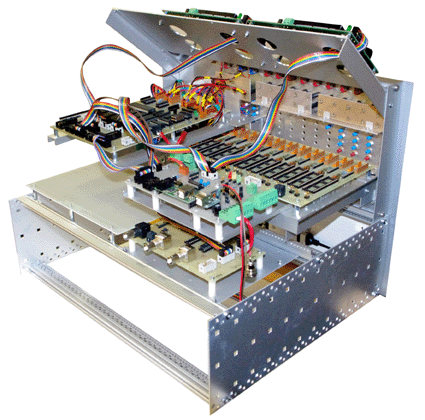
The machine wired completely:
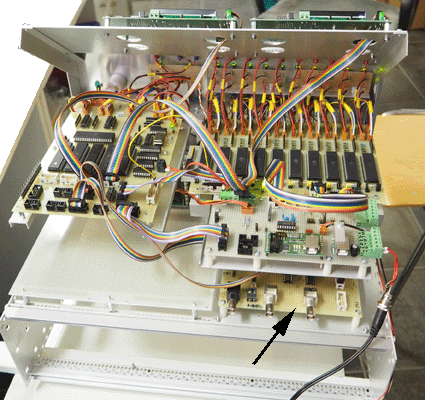
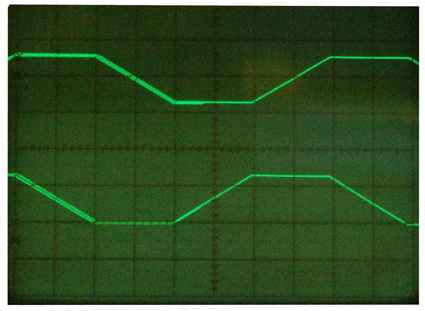
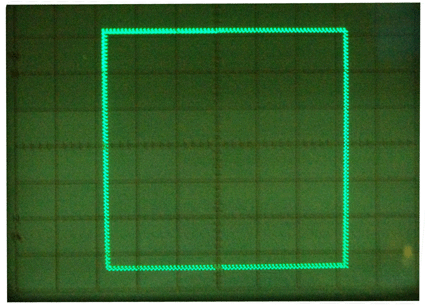
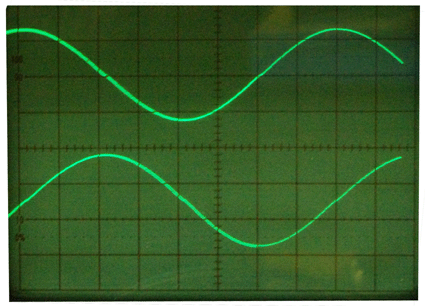
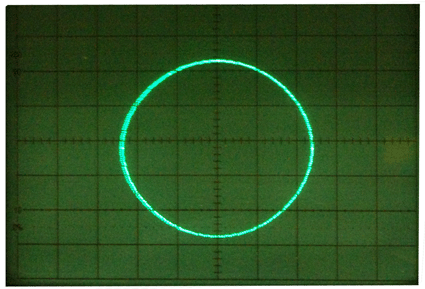
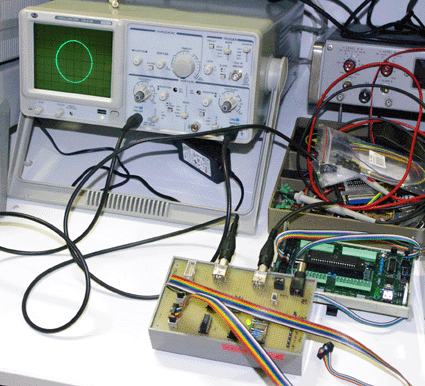
Some impressions from basic functional tests. XY presentations on an oscilloscope screen. The arrow in the picture above points to the XY-adapter.
Here the XY-adapter is not yet built in:
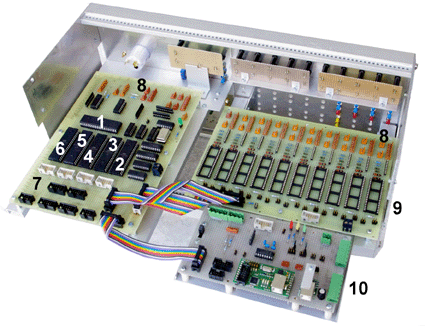
A closer look from behind... 1 – master controller; 2 – main output converter; 3 – aux output converter; 4 – main input converter; 5 – aux input converter; 6 – function generator; 7 – headers for programming and connection with I/O circuitry; 8 – headers for connecting the front panel; 9 – 10 AVRs programmed as “computing amplifiers” (summers, multipliers, integrators and the like); 10 – central adapter (serial connections, programming, USB, power supply). A look from behind with boards removed:
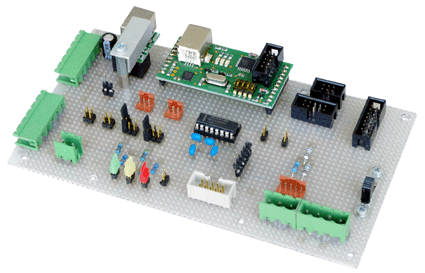
The power / interfaces / programming adapter Here the power supplies, the external interfaces and the programmer are to be attached.
|
|
|
|
June 20, 2016 |